Starting with Post #151, the idea of trading with the BodySwitch indicator is described and commented on.
No new thread has been started yet, so please continue reading from this post.
One should try to understand Note #4 below, because that is the idea of the Sliding Hedge. If one uses it, an optimal money management is automatically ensured.
In Post #33 one can find an Excel sheet with a comparison of martingale levels. Those who can and want to should try to understand the calculations...
############################################################################
In his thread "Jake Bernstein 10 SMA high 8 SMA low trading system" https://www.forexfactory.com/thread/...high-8-sma-low, @Toto69 presented his personal trading variant with some discretionary trading options. I used to read a couple of books by Jake and here I am posting some comments and indicators for the 10/8 trading idea.
Here I only post a small indicator, and when I have time I will continue to post more things and an EA, but everyone can test their ideas and apply other trend following or counter trend variants.
If any errors are found, I will update the indicators.
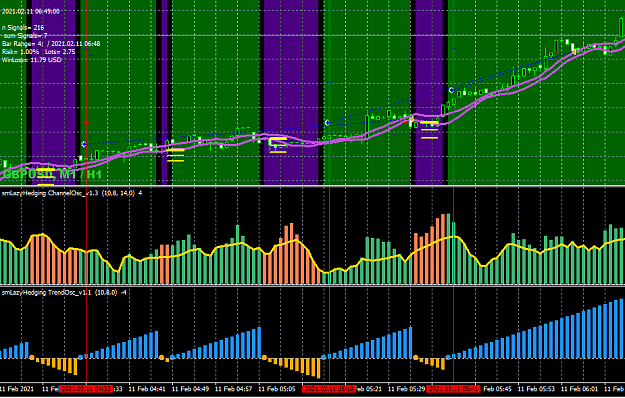
Note #1 - The trend is determined when the body of a candle is above/below the HiLo MAs, and that is a little earlier than the rule with the 2-3 highs/lows outside the channel rule.
Note #2 - The same indicator can be used for the trend of the upper time frame.
One sees quite simply that in a trend zone (D1 e.g.) the number of green bars is greater than the red bars for the long direction e.g.
For this reason, one should only take long trends on H1, for example, because the sections in the long direction can cause less losses.
Note #3 - The indicator shows possible entries when the trend changes (the short horizontal lines above/below the thicker line = Open_CurrentBar or HiLo_PreviousBar).
The first line corresponds to the entry, and the second to the take profit.
The distances are calculated from the width of the channel. I recommend that you compare them to the ATR and one will find that my calculation is a little better.
Note #4 - The first idea for trading is to set after entry a trailing stop identical to the calculated distance between the lines.
At loss when the exit level is reached, one should trade in the opposite direction (a small hedge trade) with the same trailing stop.
Anyone who examines this rule will find that the use of a martingale can be very beneficial (I'm curious if someone will do that ...).
The number of lots can be calculated with a percentage of the capital, one can limit the number of simultaneous orders, etc.
---------------
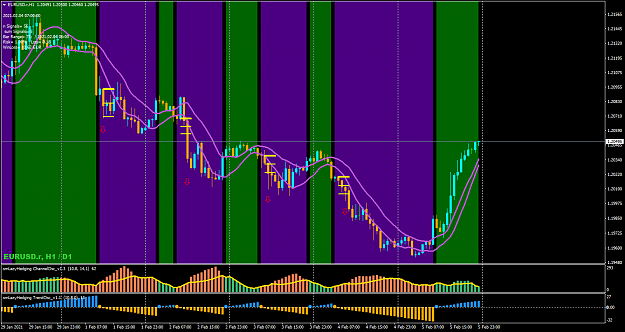
There are many ways to trade Jake's channel and I can only post a few comments about my variant. The potential is great if one analyzes and tests a little longer...
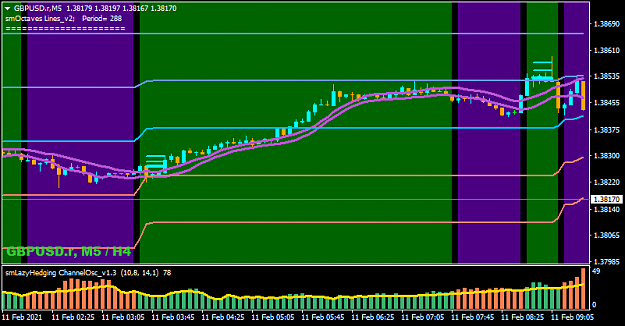
A useful indicator:
No new thread has been started yet, so please continue reading from this post.
One should try to understand Note #4 below, because that is the idea of the Sliding Hedge. If one uses it, an optimal money management is automatically ensured.
In Post #33 one can find an Excel sheet with a comparison of martingale levels. Those who can and want to should try to understand the calculations...
############################################################################
In his thread "Jake Bernstein 10 SMA high 8 SMA low trading system" https://www.forexfactory.com/thread/...high-8-sma-low, @Toto69 presented his personal trading variant with some discretionary trading options. I used to read a couple of books by Jake and here I am posting some comments and indicators for the 10/8 trading idea.
Here I only post a small indicator, and when I have time I will continue to post more things and an EA, but everyone can test their ideas and apply other trend following or counter trend variants.
If any errors are found, I will update the indicators.
Note #1 - The trend is determined when the body of a candle is above/below the HiLo MAs, and that is a little earlier than the rule with the 2-3 highs/lows outside the channel rule.
Note #2 - The same indicator can be used for the trend of the upper time frame.
One sees quite simply that in a trend zone (D1 e.g.) the number of green bars is greater than the red bars for the long direction e.g.
For this reason, one should only take long trends on H1, for example, because the sections in the long direction can cause less losses.
Note #3 - The indicator shows possible entries when the trend changes (the short horizontal lines above/below the thicker line = Open_CurrentBar or HiLo_PreviousBar).
The first line corresponds to the entry, and the second to the take profit.
The distances are calculated from the width of the channel. I recommend that you compare them to the ATR and one will find that my calculation is a little better.
Note #4 - The first idea for trading is to set after entry a trailing stop identical to the calculated distance between the lines.
At loss when the exit level is reached, one should trade in the opposite direction (a small hedge trade) with the same trailing stop.
Anyone who examines this rule will find that the use of a martingale can be very beneficial (I'm curious if someone will do that ...).
The number of lots can be calculated with a percentage of the capital, one can limit the number of simultaneous orders, etc.
Attached Image (click to enlarge)
---------------
There are many ways to trade Jake's channel and I can only post a few comments about my variant. The potential is great if one analyzes and tests a little longer...
Attached File(s)
Attached File(s)
Attached File(s)
A useful indicator:
Attached File(s)